Creating Nitro Workspaces
Nitro Workspaces provides data analysts and scientists a schema space in the Nitro database for SQL-based experimentation, exploration, and general data analysis. As an owner of the workspace, data analysts and scientists have read, write, and grant permissions to their personal workspace schema. Workspaces can be individual or Creating a Collaborative Workspace.
Nitro syncs an application user's Nitro database role and their workspace users. This allows admins to manage workspace users from the application user page. When deleting an application user, all workspace users can also be deleted. When admins attempt to delete a user from the application user page, the system checks for workspaces assigned to the user, and requires delete confirmation if any workspaces are found.
The ETL user permission is applied to new workspaces by default. This enables users to transfer work from the development environment to multiple production environments.
Creating a Workspace
To create a Workspace:
-
Log into the NAC.
-
Select Workspaces from the side menu.
-
Select New Workspace.

-
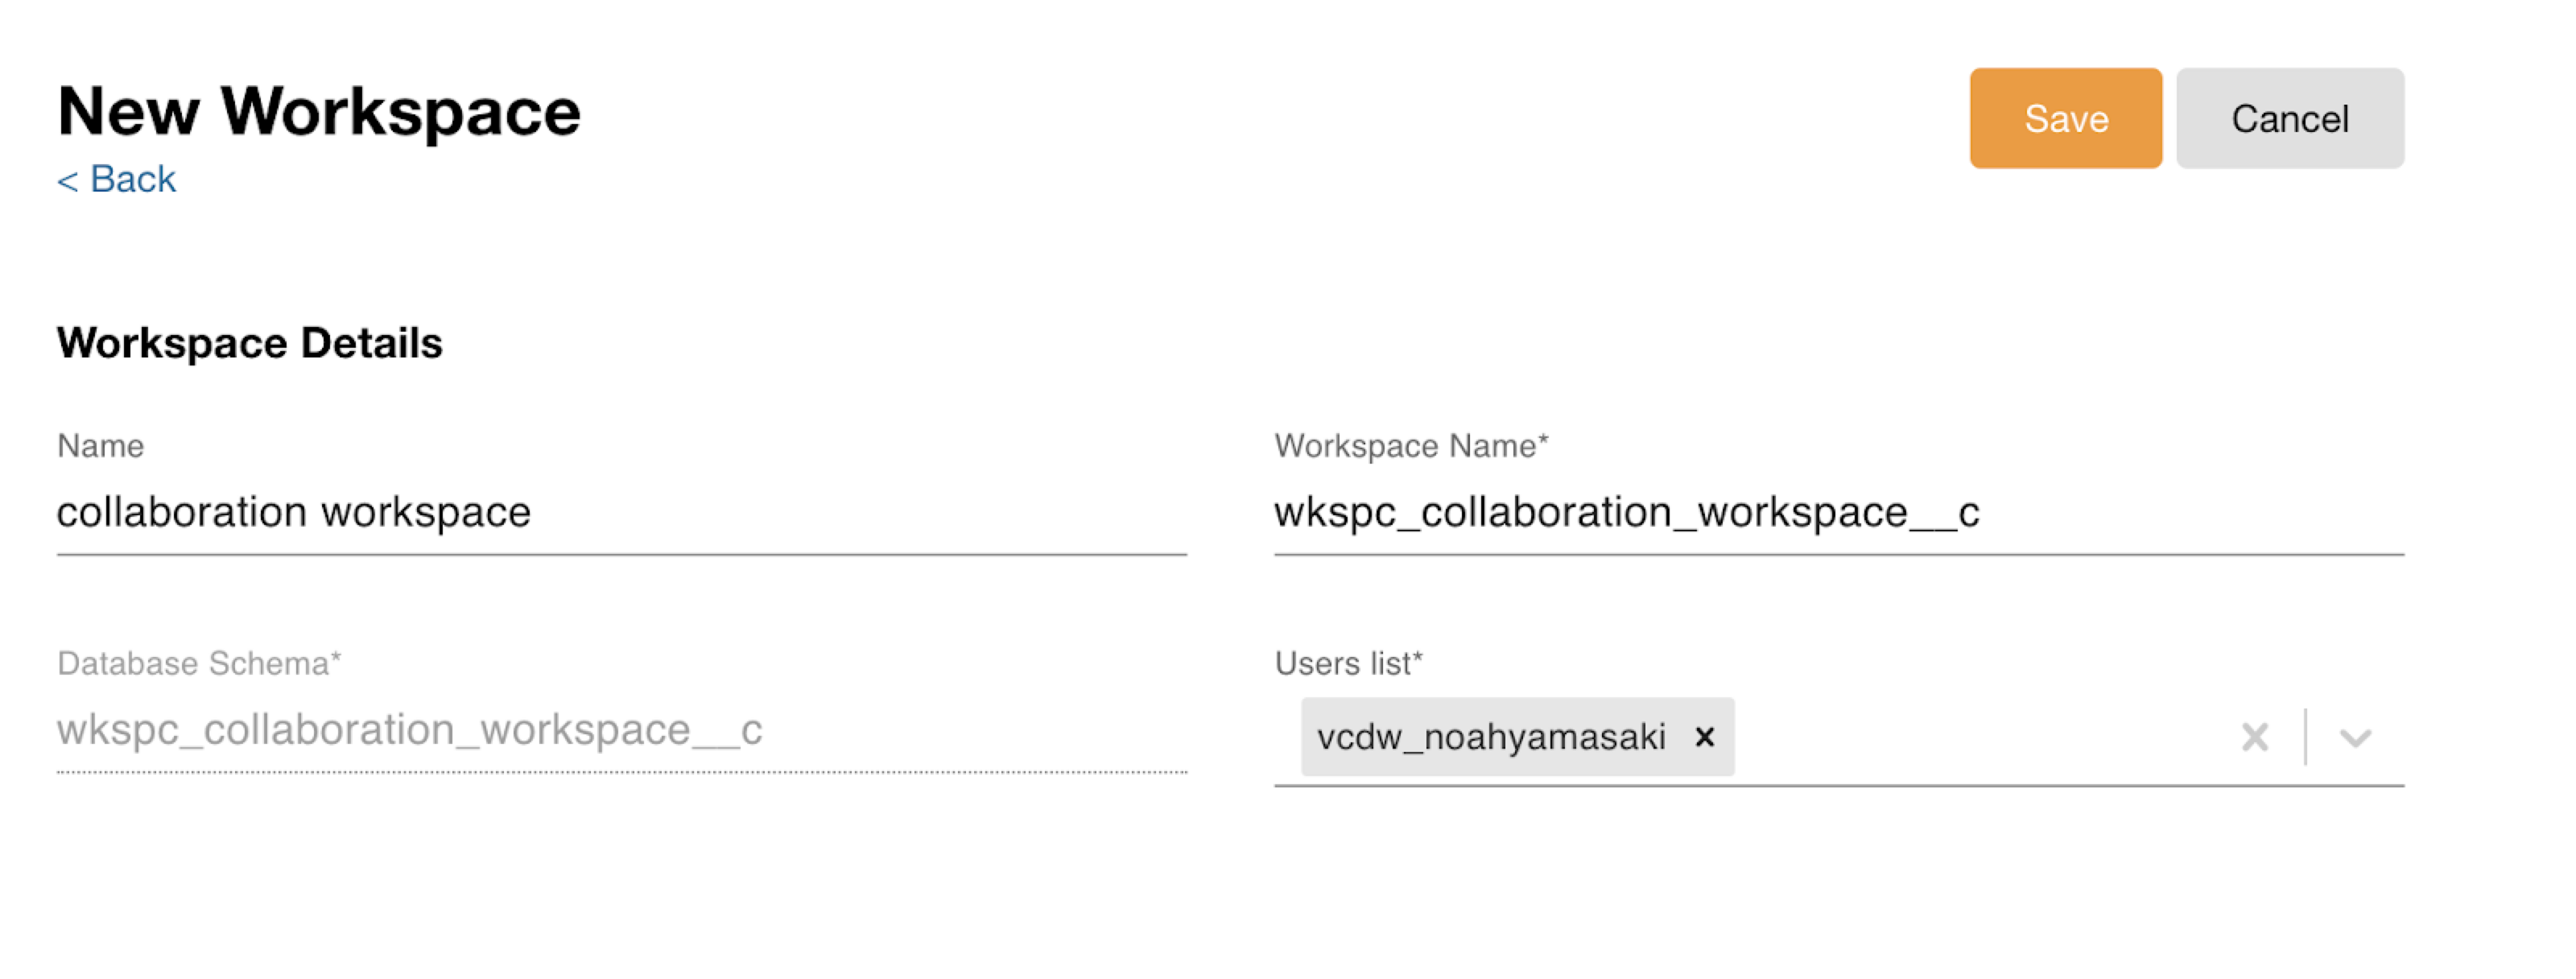
Enter the following details:
- Workspace Name
- Database Schema
- Users List
-
Select Save.

Creating a Collaborative Workspace
Admins can add multiple users to the same schema in Nitro Workspaces so they can work collaboratively to view and modify tables in other Nitro schemas.
Prerequisites
- A workspace has been created
To create a Collaborative Workspace:
-
Log into the NAC.
-
Select Workspaces from the side menu.
-
Select the workspace to add users to.
-
Select Edit.
-
Select the check box next to ‘Is this a collaboration schema?’
-
Select the appropriate user(s) from the drop-down list.
At least one user (other than the owner) must be added in order to save the Workspace as collaborative.
-
Select Save.
Users can be added or removed from a Collaborative Workspace as needed. The workspace owner cannot be changed.

