Nitro Workspace SDK
To avoid performance issues when moving very large data sets, data scientists can now use the Nitro Workspace SDK to gain full access to their personal workspace data lake location. They can then write their analyzed result sets back to Nitro workspaces directly into the Nitro data lake instead of the data warehouse.
The Nitro Workspace SDK supports .CSV and Parquet file operations.
The following functionality and operations are also supported:
- Validates Nitro user for workspace access
- Grants the user all necessary permissions to perform S3 operations for the duration of the session
- Users can run authorized Redshift queries, other than select, using SDK with two new methods:
- executeUnloadQuery() on workspace object
- executeQuery() on client object
- Secrets management allows shared setups to work in the same SDK. Users can instantiate SDK by providing an option path to a secrets file in addition to the profile name
- Available operations:
- List directories/files under exact workspace location in S3
- Delete file from exact workspace location in S3
- Upload files from local file system to exact workspace location in S3
- Download files from exact workspace location in S3 to local filesystem
- Read files from exact workspace location in S3 into Pandas dataframe
- Write Pandas dataframe as a file to exact workspace location in S3
- Unload Redshift table to files in exact workspace location in S3
- Copy files in exact workspace location in S3 into Redshift table
Prerequisites
- Python 3.10 or newer installed on your machine
- Named NAC user with dev admin permissions for the Tenant
To use the Nitro Workspace SDK for Mac:
-
Go to terminal and type vi.cdw under the home directory
-
For each tenant instance that you have a workspace(s) in, enter the following information:
[VeevaDemoUS_Prod]
serverUrl=https://cdw-02-app-us.veevanitro.com
apiKey=xxxxxxxxx
tenantName=VeevaDemoUS
dwInstanceName=production__v
redshiftUser=vcdw_readonly_shibani
redshiftPwd=xxxxxxxx
connectorName=global__v
If you don’t have an API key for the tenant instance NAC, generate one before filling in the above information.
-
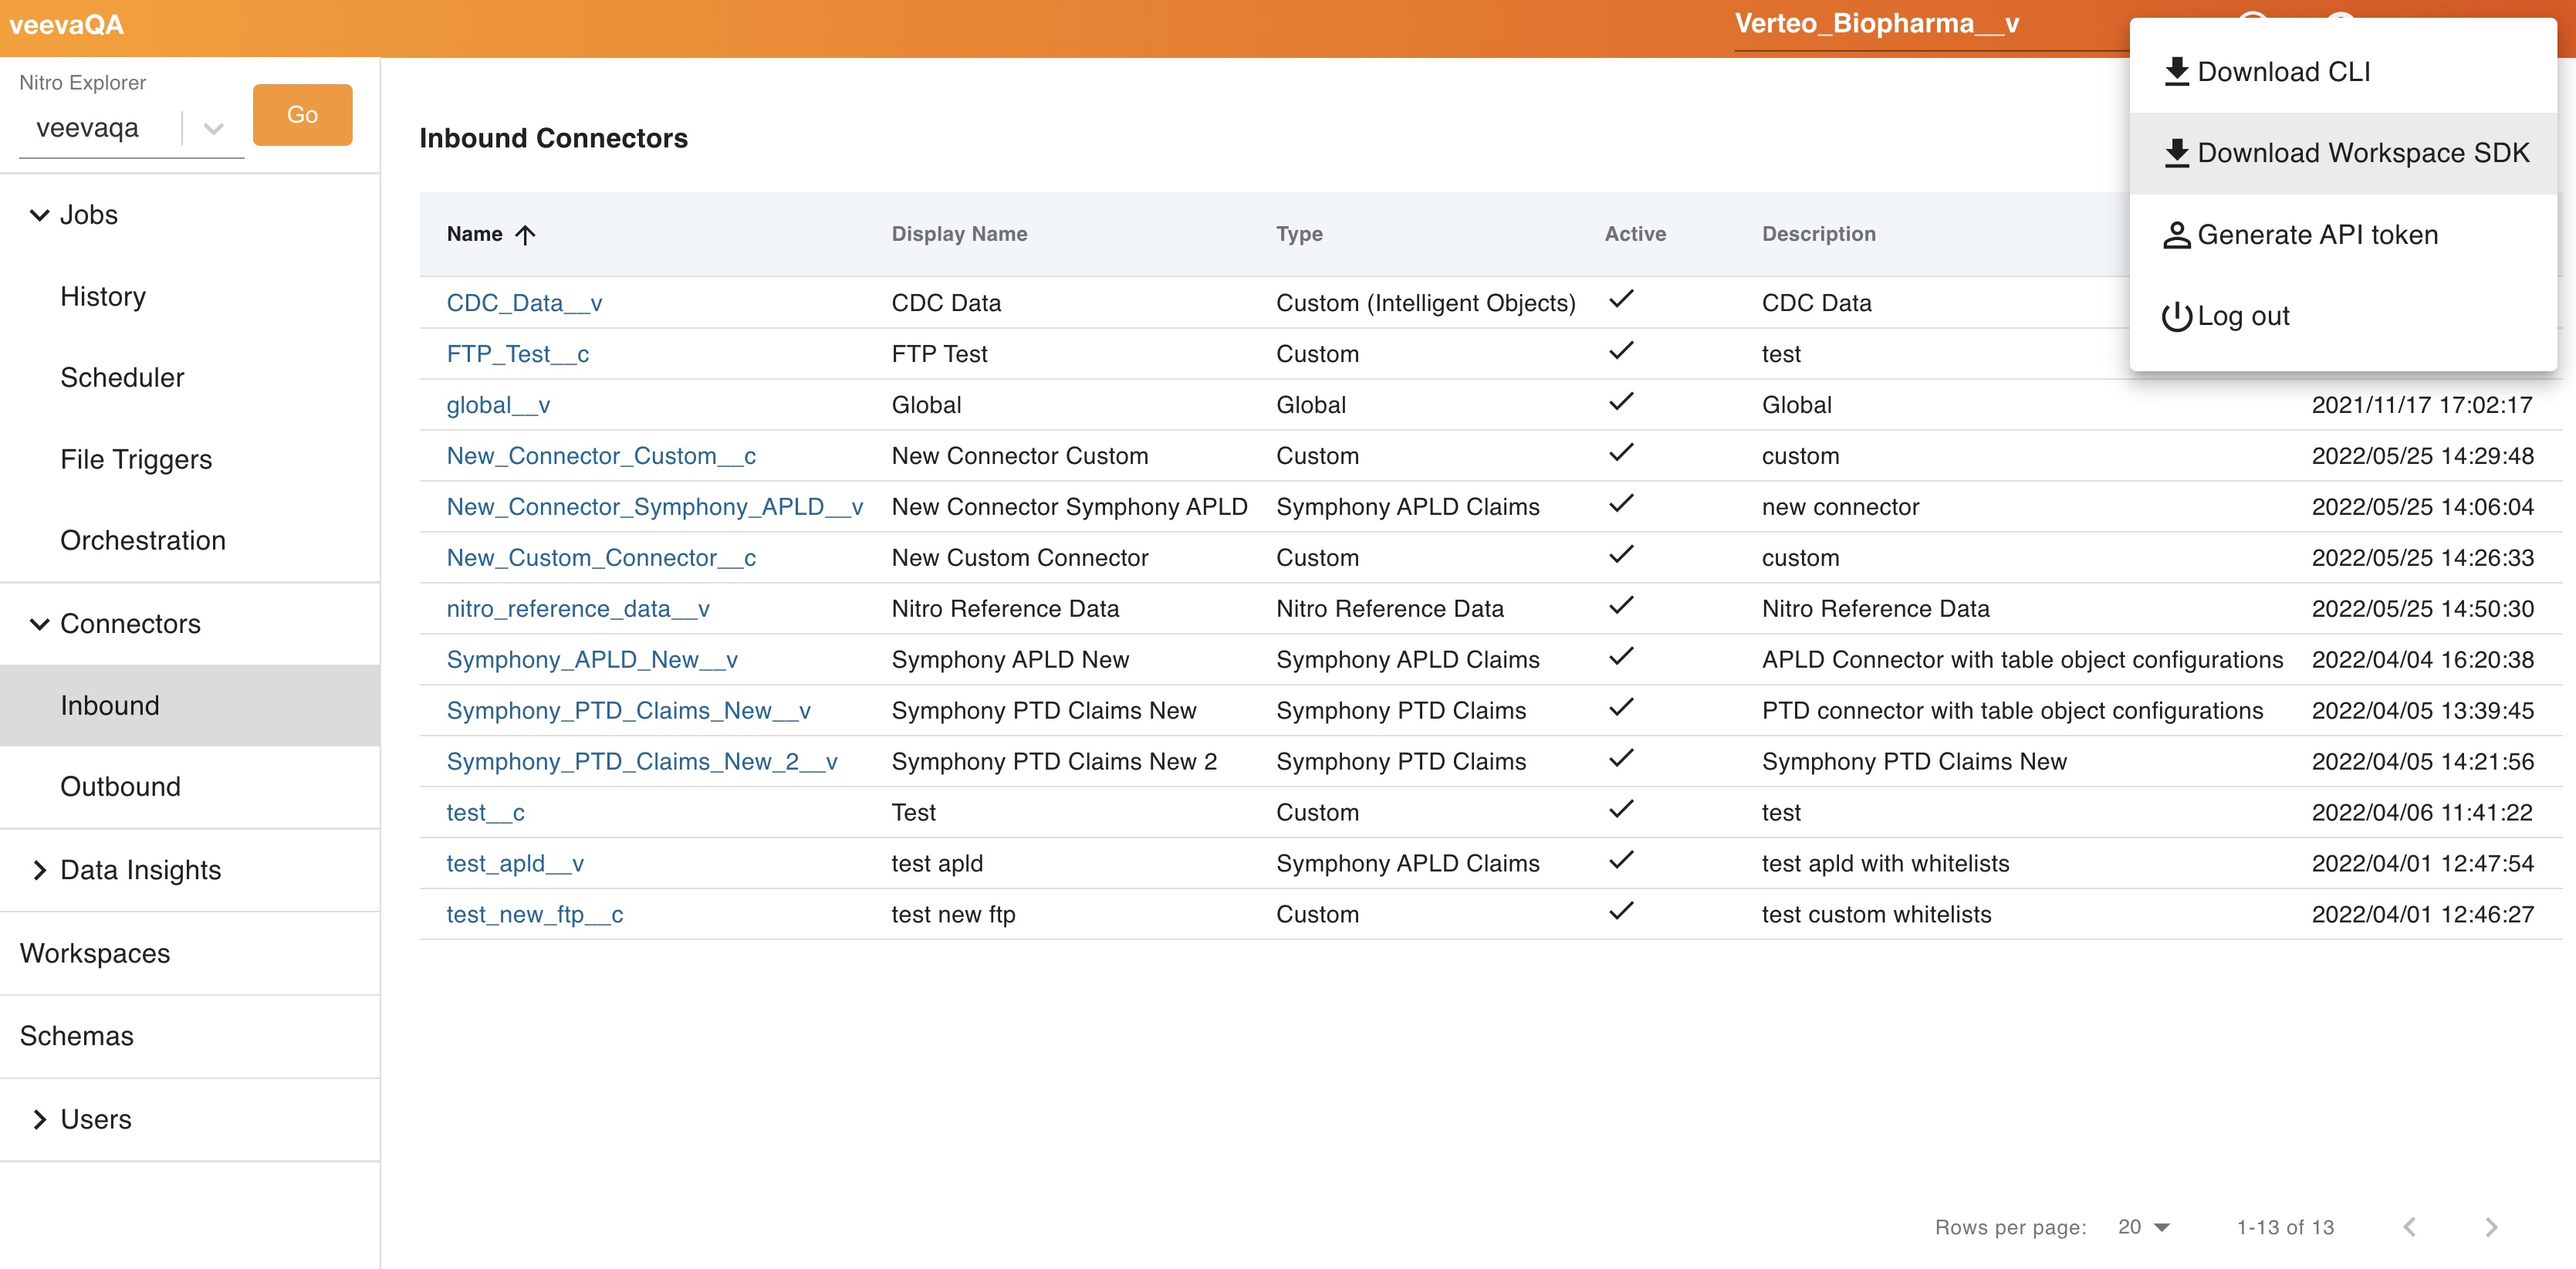
Log into the NAC.
-
Select Download Workspace SDK from the User Profile menu.
The Nitro SDK file is refreshed with each Nitro release. A README and example notebooks are available in a documentation folder and included in the Nitro SDK download.
-
Open a Command Prompt and run the following commands, in this order:
Copy# create new venv
python3 -m venv /path/to/new/virtual/environment
# Activate new venv
source /path/to/new/virtual/environment/bin/activate
# pip install the wheel file (installs in venv with all the dependencies)
pip3 install /path/to/wheel/nitro_sdk-1.0.0-py3-none-any.whl
# pip force-re-install the wheel file (if you are upgrading the version)
pip3 install --force-reinstall nitro_sdk-1.0.0-py3-none-any.whl - Open a Python IDE in the same virtual environment to begin writing code. Access the jupyter notebook template or readme.md file for more information on the methods.
To use jupyter notebook, run the following command in your terminal:
python3 -m pip install jupyter notebook
python3 -m ipykernel install --user --name=virtualenvname (edit this)
Install the packages you need into your active virtual environment.
Additional Resources
Using Nitro SDK video - includes pre-requisites, installing, and examples