Using Process APIs in Nitro
Process APIs can be used in Nitro to facilitate communication and data exchange between processes, enabling applications to coordinate and share information. To allow for one automated process, Admins can trigger process APIs from Nitro, removing latencies with outside systems.
For example, when data is refreshed in Nitro tables, dashboards within Tableau are also refreshed. This removes the need for users to log into Tableau and refresh the data source manually.
Configuring Process APIs
To add a Process API to a job:
-
Log into the NAC.
-
Select Steps from the Jobs menu.
-
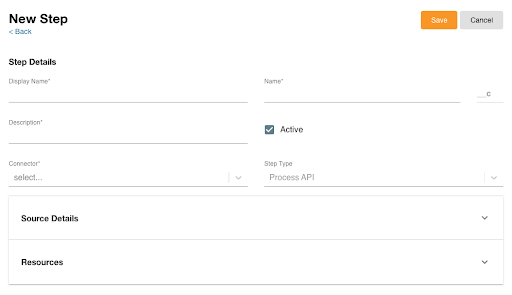
Select New Step.
-
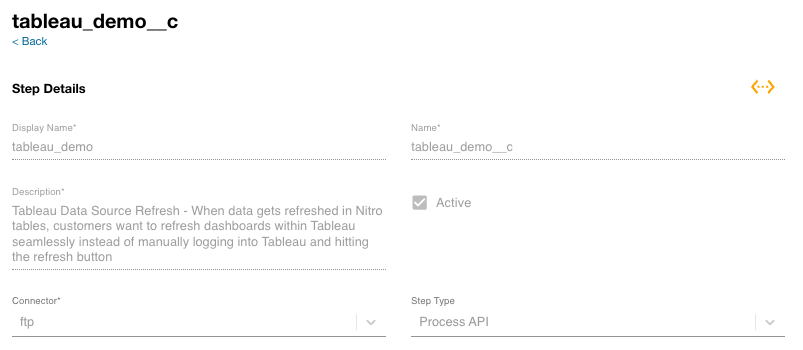
Enter the following:
- Display Name
- Description
-
Select the connector you want to use with the Process API job. For example, FTP.
-
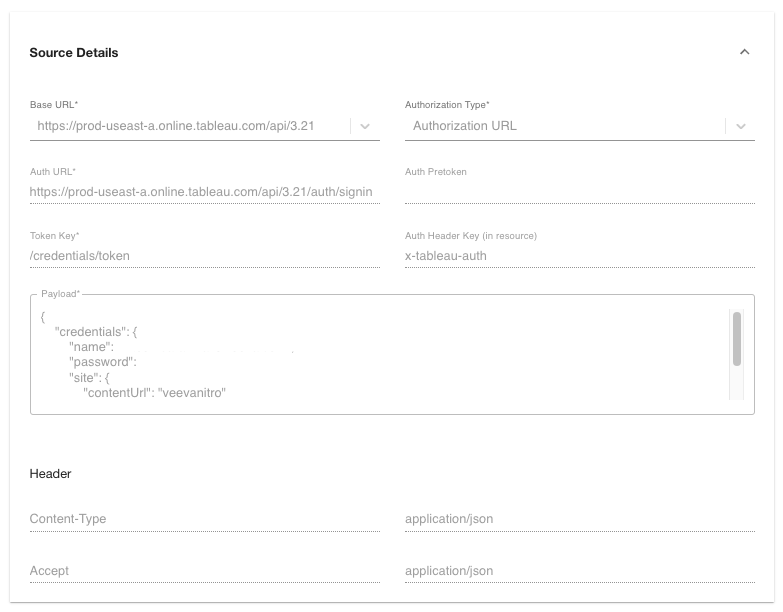
Select the Base URL in the Source Details section.
-
Select the Authorization Type:
- None - continue to the next step
- Authorization URL - enter the following:
- Auth URL - for example, https://prod-useast-a.online.tableau.com/api/3.21/auth/signin
- Auth Pretoken (optional)
- Token Key - for example, /credentials/token
- Auth Header Key (optional) - for example, x-tableau-auth
- Payload
- for example, Copy
{
    "credentials": {
        "name": "username",
        "password": "password",
        "site": {
            "contentUrl": "veevanitro"
        }
    }
} - Header Key and Value
-
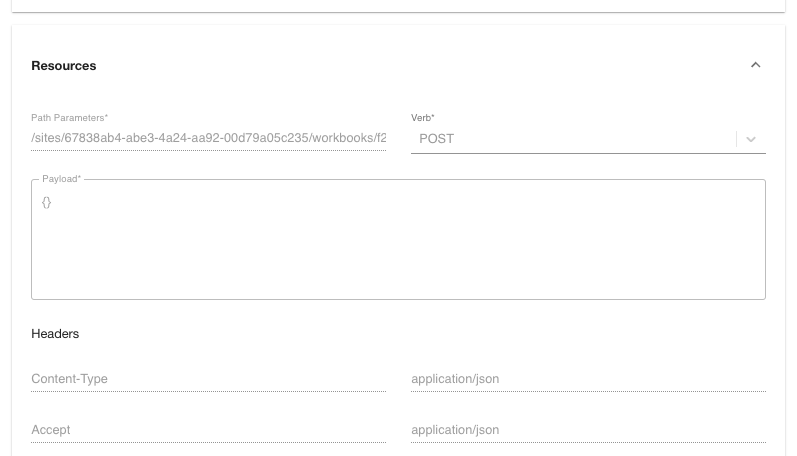
Enter the Resources information
- Path Parameters - for example, /sites/67838ab4-abe3-4a24-aa92-00d79a05c235/workbooks/f2891b2d-2731-48df-8741-d1e44529ae60/refresh
- Verb:
- GET - enter path parameters, header, and query parameters
- POST - enter path parameters, payload, header, and query parameters
- Payload - for example {}
Select Save.
Select Verify Connection.
- Add the following IP addresses to the allowlist if the REST API server has IP restriction rules:
Region IP Addresses US 3.136.3.234
3.19.87.94EU 3.67.123.91
3.125.253.104AP 35.72.176.170
54.92.49.234
Using Process APIs
Adding a Process API to a job or a job node in a Job Orchestration:
-
Log into the NAC.
-
Select History from the Jobs menu.
-
Select Run Job.
-
Select the appropriate Connector.
-
Select Run Step from the Jobs drop-down.
-
Select the step(s) you want to run.
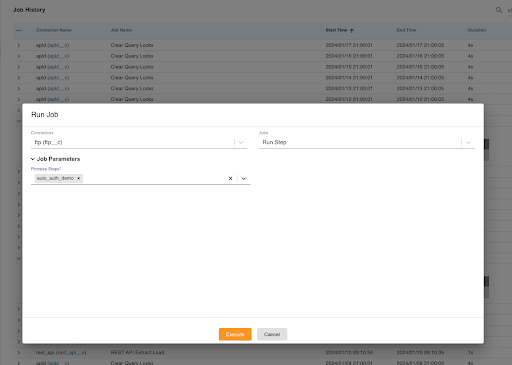
-
Select Execute.