Export/Import Outbound Connector Configuration
Admins can move outbound connector configurations, including definitions and contents, from an instance to another instance as a package. This reduces the migration effort and copy and paste errors.
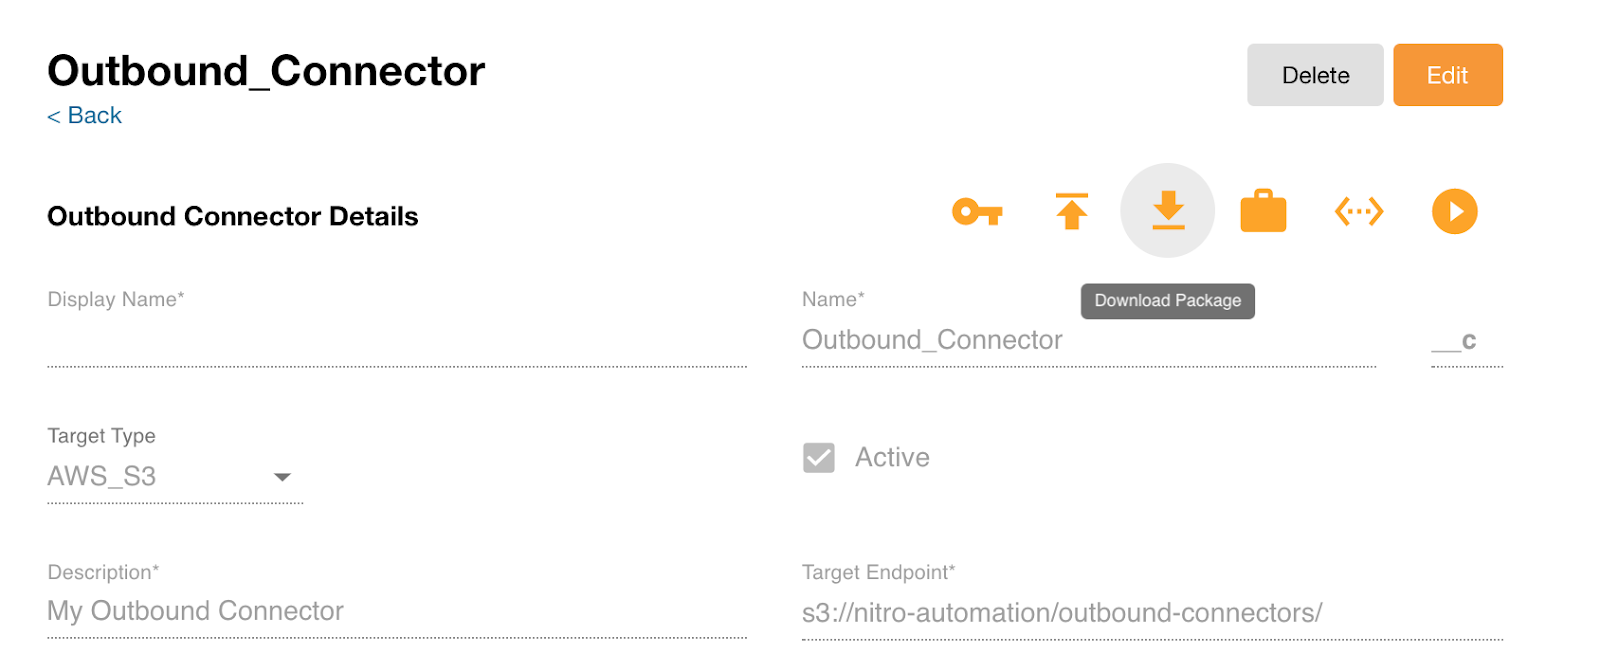
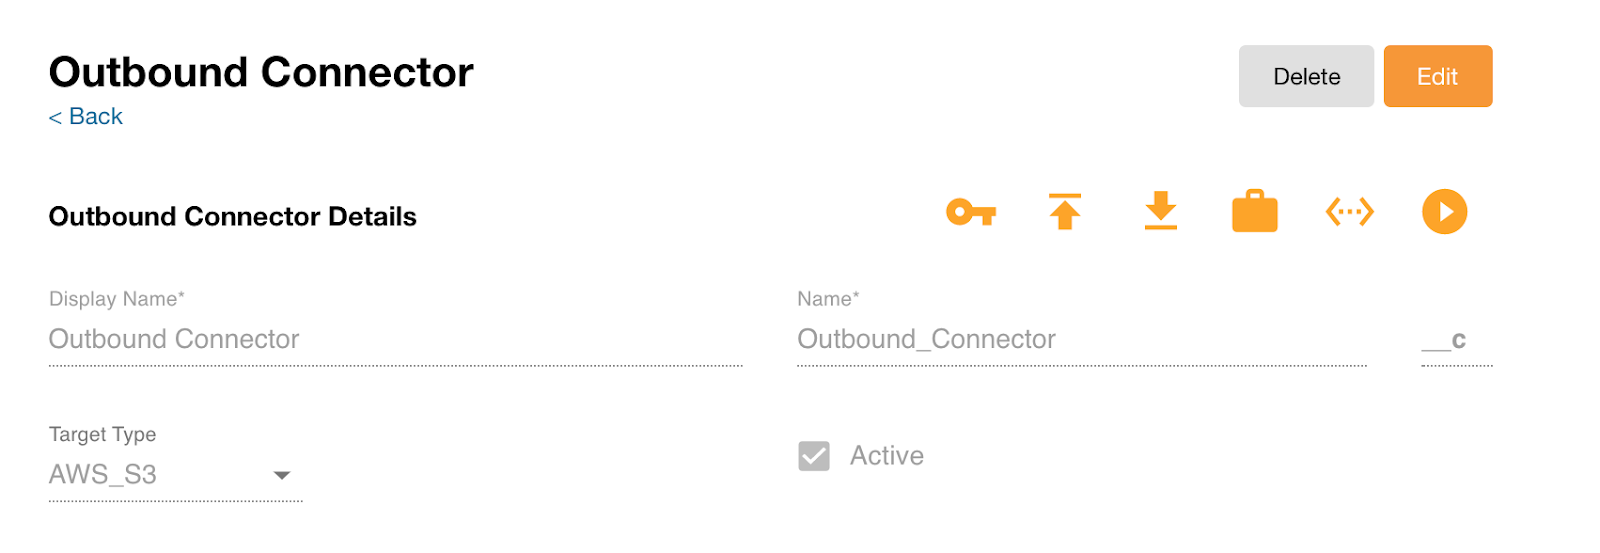
To export the outbound connector configuration:
- Select an outbound connector.
- Select Download Package. The downloaded package contains a connector folder for the connector configuration file.
Secret attributes such as credentials are not exported. If using SFTP, once the package is imported, the user name and password must be set for each connector.
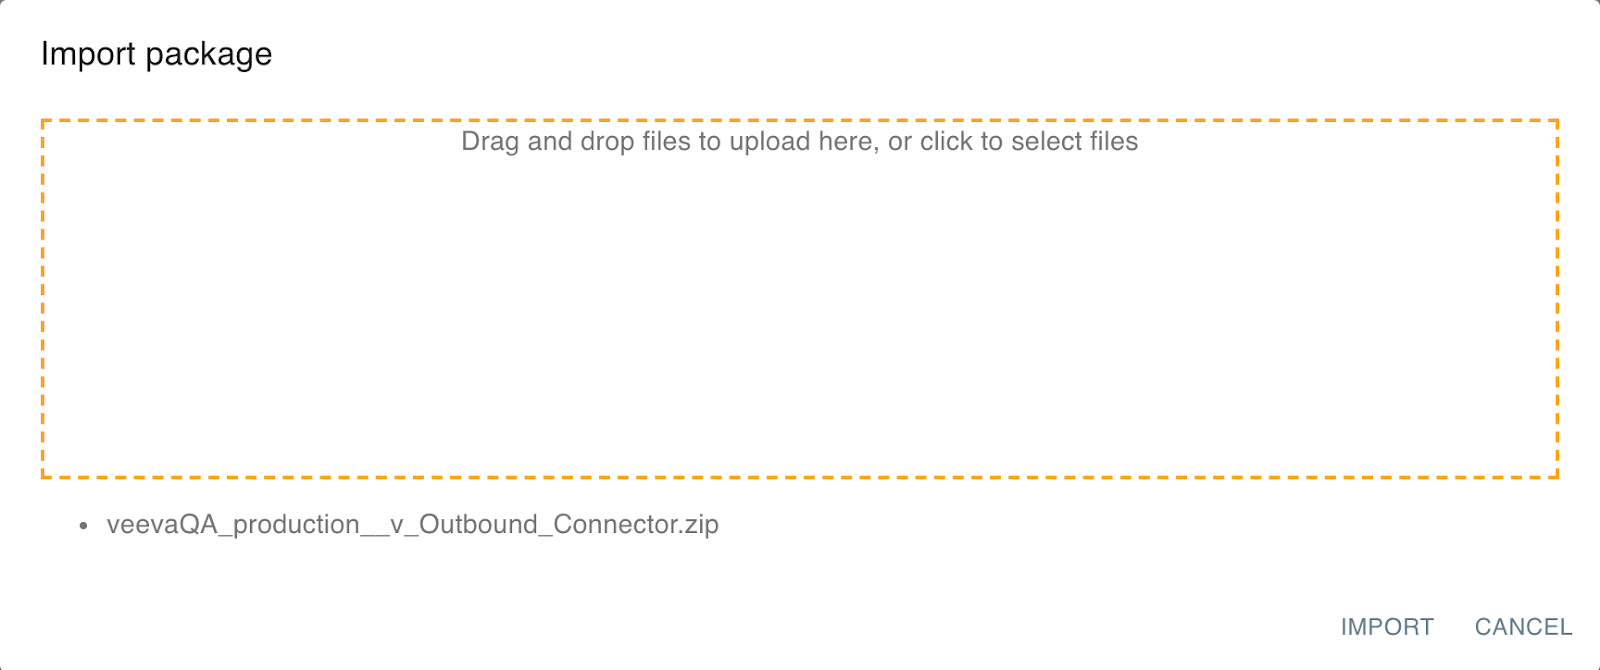
To import the outbound connector package:
- Log into the NAC.
- Select Connectors > Outbound Connectors from the side menu.
- Select Import Connector.
- Select the downloaded package. An outbound connector is created from the package with the definition and contents.
- Select Import.

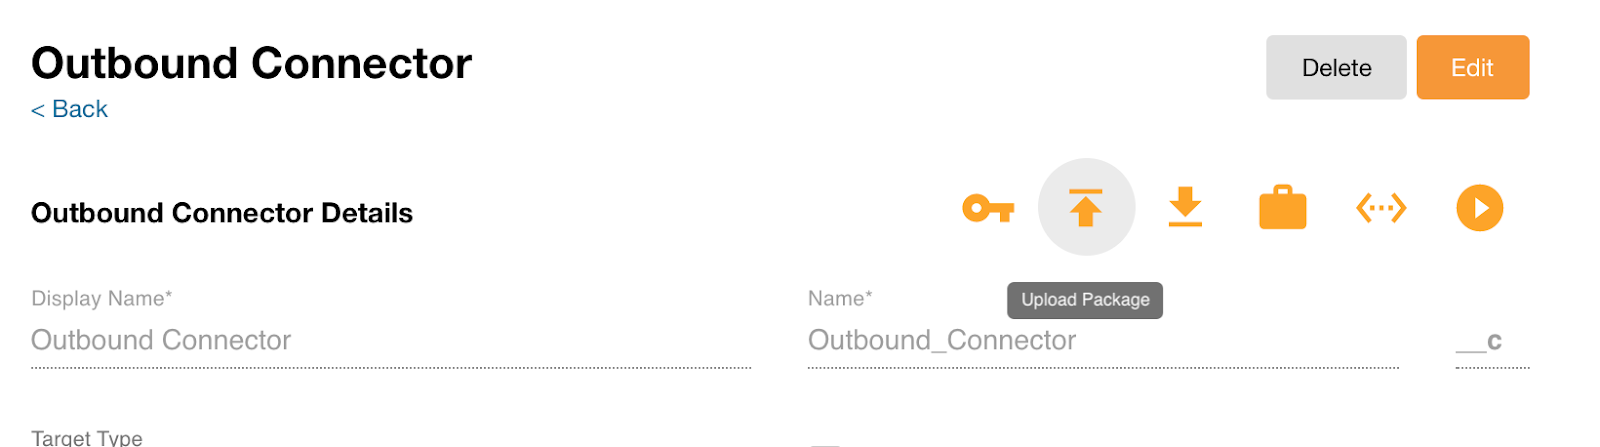
In addition to importing the outbound connector package, admins can now upload the package to an outbound connector to update the definition and contents from a package.
To update the outbound connector configuration:
- Log into the NAC.
- Select an instance (Production, Sandbox, or Other).
- Select Connectors > Outbound Connectors from the side menu.
- Select an outbound connector.
- Select Upload Package.
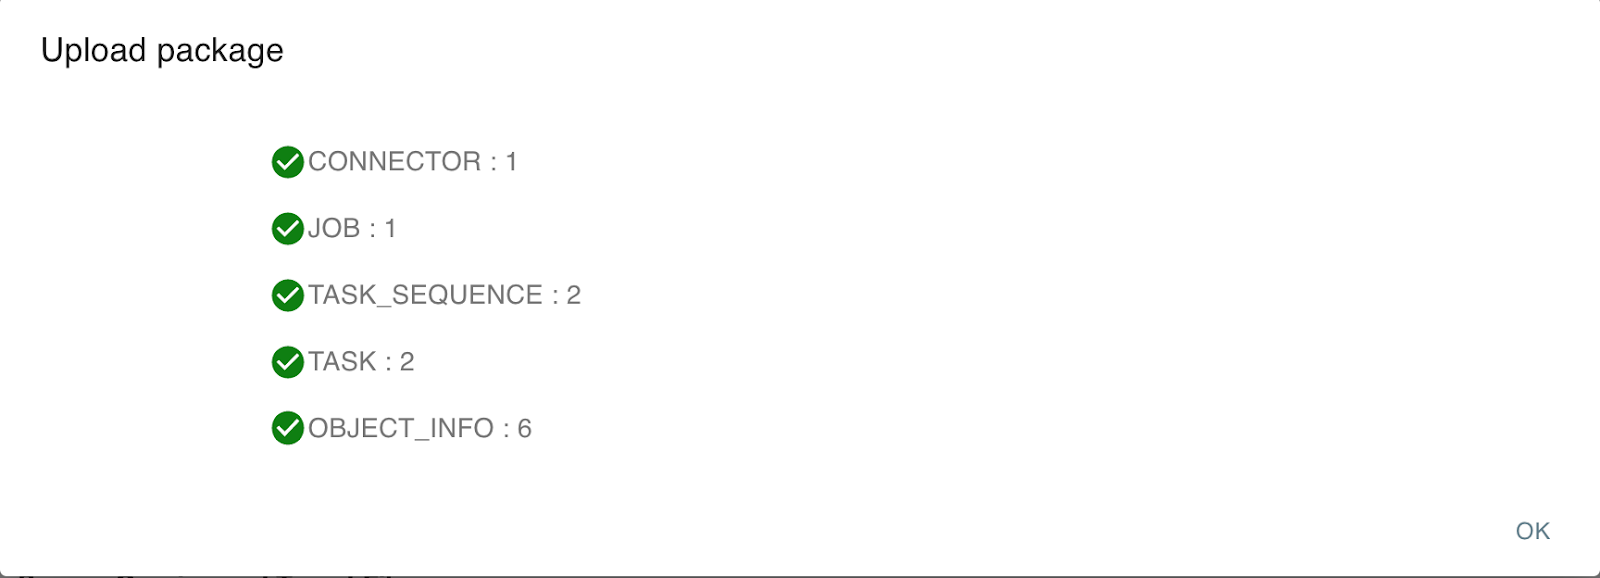
- Update the definition and contents of the connector.
- Select OK.